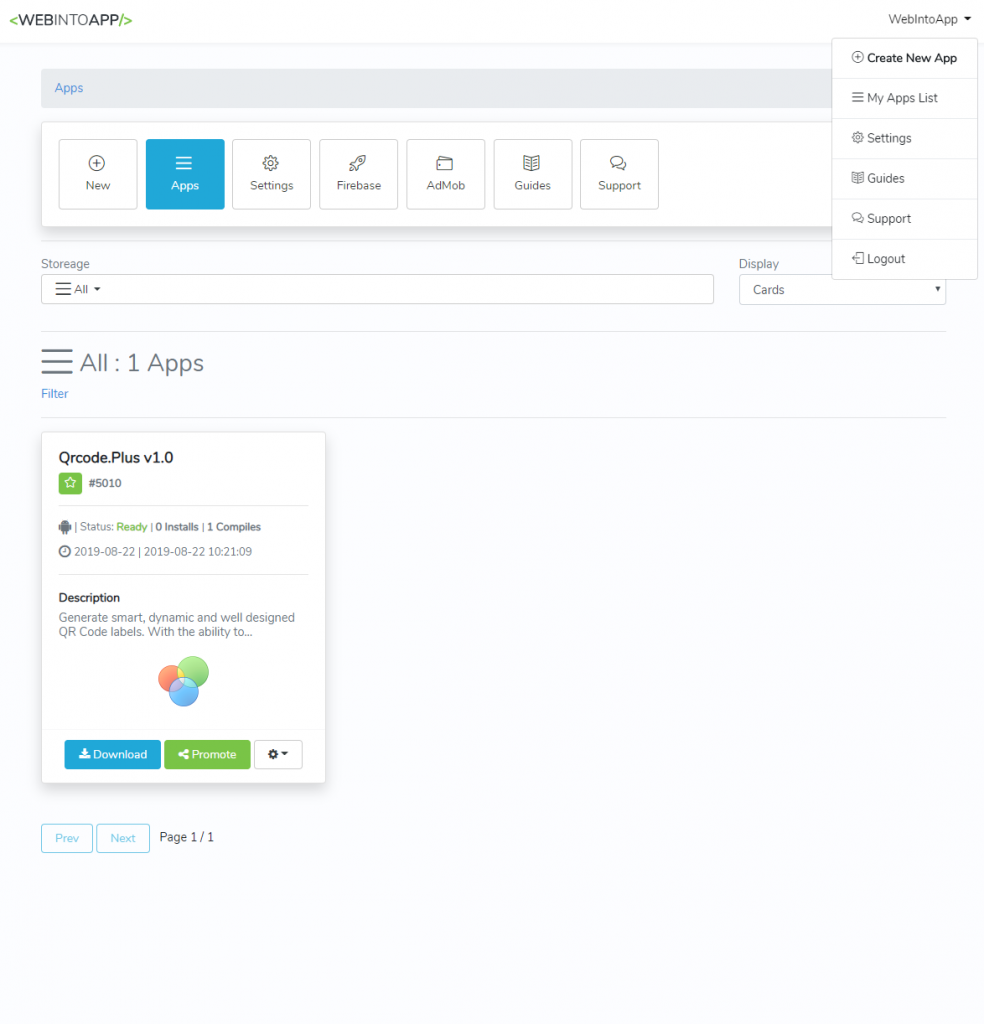
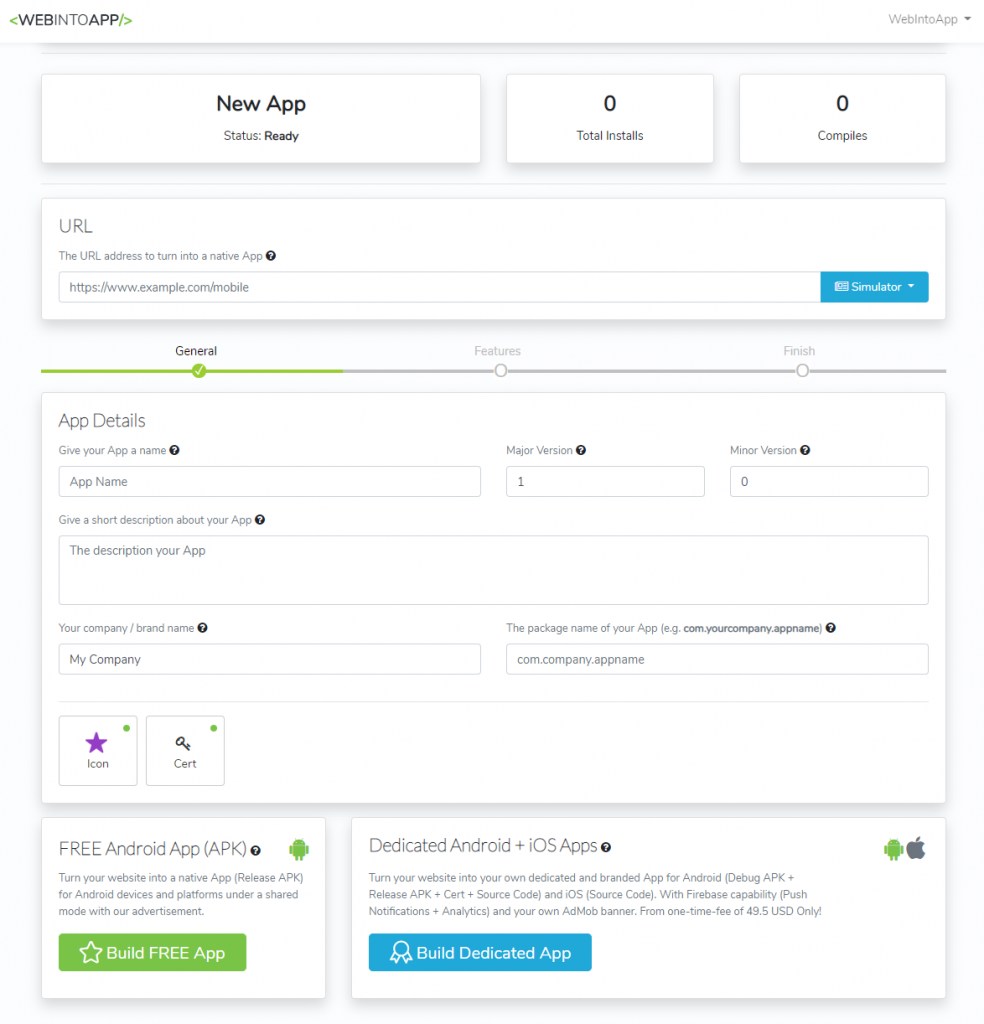
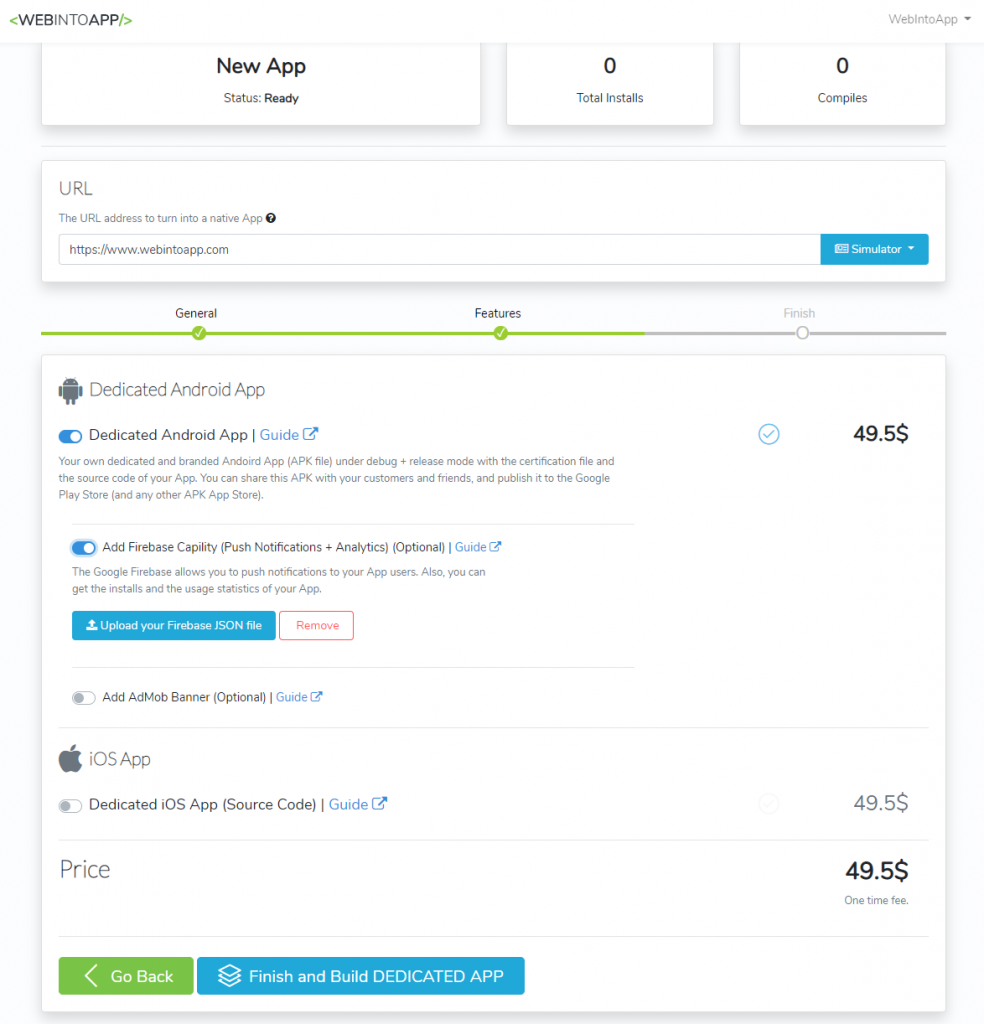
The final version of the Web Into App is now online.

After a lot of work (and thinking and debugging) we are proud to announce that the final version of the Web Into App is now online.

The new version name of this release called V.EITHAN. Here are some benefits of the V.EITHAN release:

  • Turn any website into a FREE or a Dedicated App.
  • For Android and iOS platforms and devices.
  • You can compile the Android App into an APK file online (for debug and release). The iOS App is available in the source code, you can compile and distribute it with your own Mac machine (this is a requirement of Apple).
  • Pay only for the features you are using. One time fee. No subscription. No hidden fee.
  • Set the icon and the certification (the ownership) of your App easily.ย 
  • A FREE or a Dedicated mode.
  • Push notification to your App users using the Google Firebase.
  • Get the usage statistics of your App with Google Firebase.
  • Add your own AdMob banner and earn money.
  • Update / upgrade the version of your App in the feature.
  • A strong support.
  • Easy to use.
  • Guides and tutorials of how to use our services.

Here is the home page of the Web Into App:
https://www.webintoapp.com

Here are some guides of how to use our services:
https://www.webintoapp.com/guides

For any kind of support feel free to email us to:
webintoapp@gmail.com

Also, please note that we had created a Windows desktop version of the WebIntoApp.com services which called โ€˜Web-Into-App on Desktopโ€™ for easy access and easy management to our website and our services from your Windows desktop. You can download the Windows Installer of this App for free from:
https://www.webintoapp.com/application/setup/WebIntoAppSetup.msi
The Microncode.com is now online officially.

The Microncode.com is now official online! The Microncode.com is a website that provides multimedia solutions for end users and for developers.

Most of the products of the Microncode.com are available for FREE for a free usage, if you want to use them for commercial usage you can buy a license.

You can read more of the services that the Microncode.com is providing at the About page:
https://www.microncode.com/about/

Here is the the homepage of the Microncode.com
https://www.microncode.com/

Most of the programs and the components are under the MS-PL relax license ๐Ÿ™‚

End users

Our goal is to provide a quality software solution for the desktop environment of Windows OSs that allows the end users to operate their requests fast and easily.

The end users programs we had developed are available for free for a free usage. If you want to use them for commercial purposes, please purchase a license.

Here are the End Users programs for Windows desktop (FREE for free usage) –
https://www.microncode.com/desktop/

Developers

All the components and the libraries which served us to develop all of our products are also available to be used by external developers.

We have added the most common components (.NET WinForm) we were developed to GitHub, you can use, update and fix the code for as you wish. Those components are available with C# and VB .NET examples.

You can use those components for FREE for free usage in a freeware software / open source projects.

Here are the WinForm Components that we published to GitHub.com –

CSAudioRecorder
.NET component to record audio from any source to many types of audio files.
https://github.com/microncode-com/CSAudioRecorder

CSAudioPlayer
.NET component to play any type of audio files with a specific format.
https://github.com/microncode-com/CSAudioPlayer

CSAudioConverter
.NET component to convert, join and cut many types of audio files.
https://github.com/microncode-com/CSAudioConverter

CSAudioCDRipper
.NET component to rip the Audio CD tracks with FreeDB and ID3 tags support.
https://github.com/microncode-com/CSAudioCDRipper

CSAudioCDPlayer
.NET component to play audio CD with audio graph and FreeDB support.
https://github.com/microncode-com/CSAudioCDPlayer

CSAudioCDBurner
.NET component to burn an Audio CD from standard WAV files.
https://github.com/microncode-com/CSAudioCDBurner

More components (in the Microncode.com website) can be found here:
https://www.microncode.com/developers/

Also, we have developed some Console Programs which allows you to operate the major functionality of our products using the command line. You can get them at:
https://www.microncode.com/console/

Support

If you need any kind of support for the Microncode.com products and services, feel free to send us a support request mail via:
support@microncode.com

Add VS6/VB6 components to Visual Studio 2017

Nowadays in 2018, there are still many useful ActiveX components (DLLs and OCXs) that was wrote with the old (and lovely) VS6/VB6 developing environment. Unfortunately, some of those components cannot be use in the earliest versions of Visual Studio because of the DEP (Data Execution Prevention) issue.

Gladly, Microsoft add the ability to use those component in the Visual Studio 2017 easily ๐Ÿ™‚

Here are the stages to add the ability to use VS6/VB6 ActiveX component in Visual Studio:

1) Open Visual Studio 2017
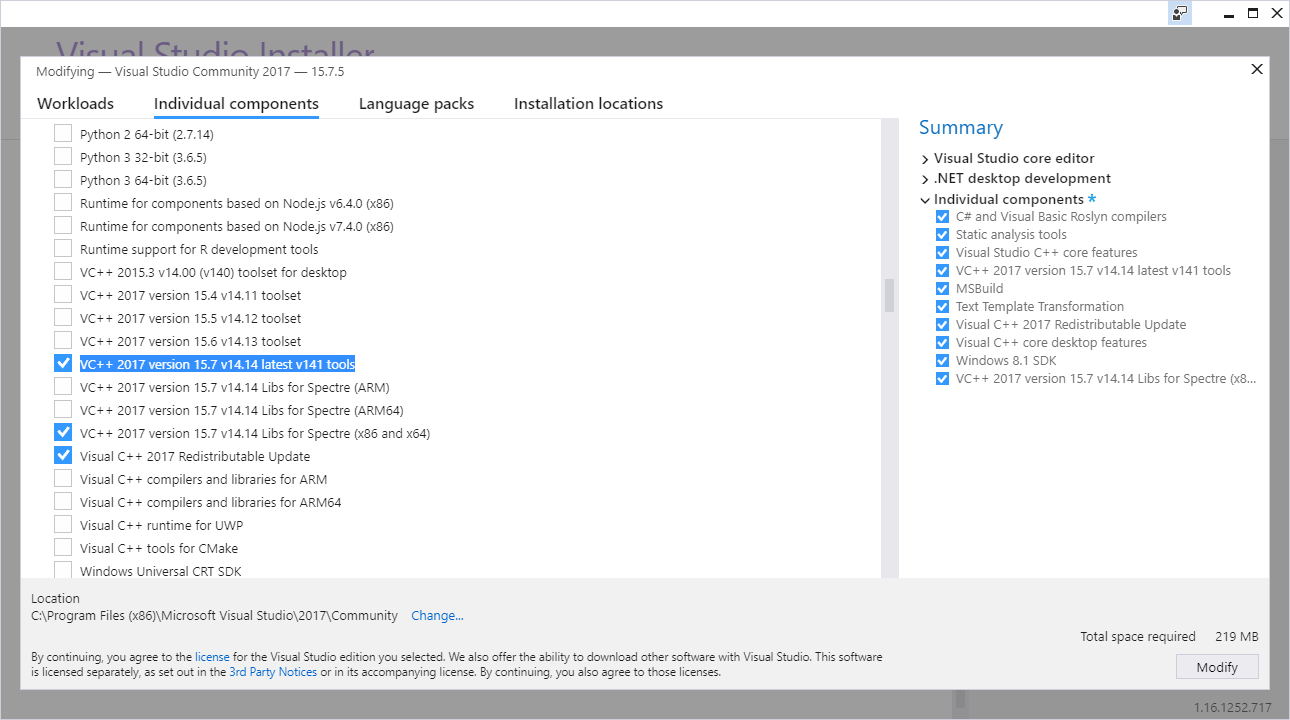
2) Click on ‘Get Tools and Features’ in the ‘Tools’ menu.
3) In the ‘Modify’ window click on the ‘Individual Components’ tab.
4) Mark the ‘VC++ 2017 version 15.7 v14.14 latest v141 tools’ option in the list.
5) Click on the ‘Modify’.
6) Wait for Visual Studio 2017 to finish the installation.
7) Open the project that you want to add the VS6/VB6 components.
8) Go to the project properties.
9) Click on the ‘Build Events’ tab.
10) Add the above command to the ‘Post Build’:

call "$(DevEnvDir)..\tools\vsdevcmd.bat"

"$(DevEnvDir)....\VC\Tools\MSVC\14.13.26128\bin\Hostx86\x86\editbin.exe" /NXCOMPAT:NO "$(TargetPath)"

Get Tools and Features in Visual Studio 2017

That’s It ๐Ÿ™‚

From now on you can use the VS6/VB6 components in your Visual Studio 2017 projects.

Remarks

  • This demonstrate use Visual Studio C# project, you can also do the same with Visual Basic or any other desktop language of the Visual Studio 2017.
  • You can change the command $(DevEnvDir) in the Build Events to the location of the Visual Studio 2017 in your hard drive.
  • CoreUI modal not working – Fix CoreUI modal

    I’ve faced a problem when displaying the modal of coreui when calling a js function, such as:

    $('#modal-create-token').modal('show');
    

    Well, after searching for a solution I’ve founded that adding CSS style as above will fix the probelm, and the modal of the coreui will be display:

    .fade {
      opacity: 0;
      -webkit-transition: opacity 0.15s linear;
      -moz-transition: opacity 0.15s linear;
      -o-transition: opacity 0.15s linear;
      transition: opacity 0.15s linear;
    }
    
    .fade.in {
      opacity: 1;
    }
    
    .fade.out {
      opacity: 0;
    }
    

    Also, you may need to add to the modal tag ‘data-backdrop=”false”‘, for example:

    <div class="modal fade" id="modal-create-token" tabindex="-1" role="dialog" data-backdrop="false">
    

    ๐Ÿ™‚

    Check if a domain name is IDN with PHP

    In some cases you may need to check if a domain name is IDN (Internationalized domain name) or not.

    This function can do it for you (from PHP 5.3+):

    //Check if a domain name is IDN or not.
    //Return true of the $name is IDN or false of not.
    public function is_idn($name)
    {
        if(idn_to_utf8($name) != $name)
            return true;
    
        return false;
    }
    

    Then you can call the function ‘is_idn’ as above:

    is_idn('xn--5dbhaeldc2j.com');
    

    Add VUE syntax highlighting support to Sublime Text 3

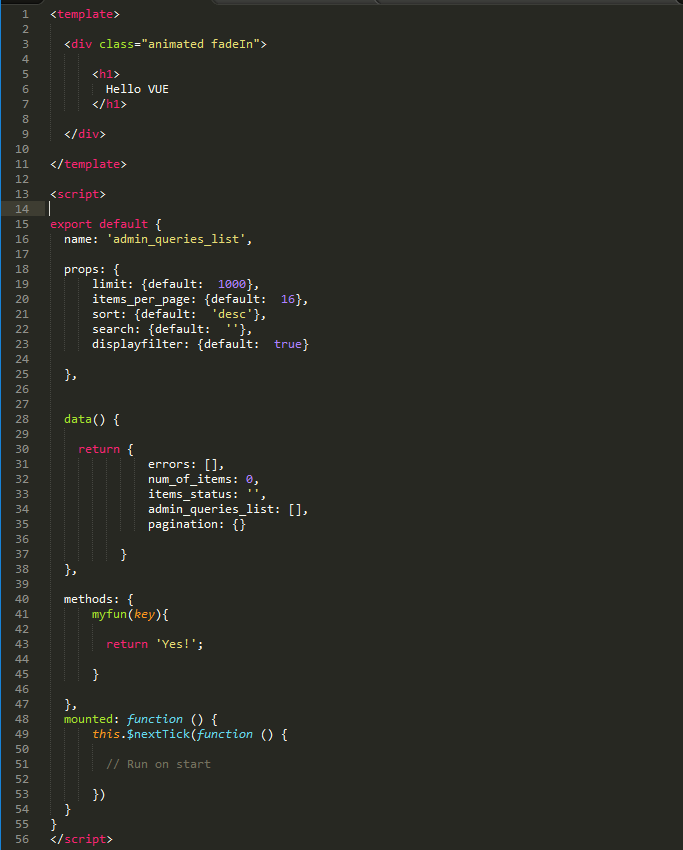
    While the Sublime Text 3 editor can handle with the common web development languages (HTML / JS / CSS / PHP / etc), in order to add a syntax highlighting support for VUE, you may need to add a plugin to the Sublime Text 3 editor.

    vue-syntax-highlight

    The stages to highlighting VUE in Sublime Text 3 are:

    1) Open the VUE file in Sublime Text 3

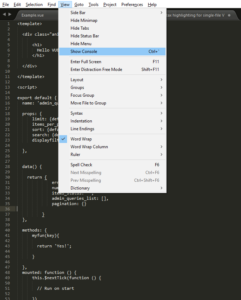
    2) Go to menu view->show console

    3) Add this to the console:

    import urllib.request,os,hashlib; h = '6f4c264a24d933ce70df5dedcf1dcaeeebe013ee18cced0ef93d5f746d80ef60' + '1e3d39e33b79698005270310898eea76'; pf = 'Package Control.sublime-package'; ipp = sublime.installed_packages_path(); urllib.request.install_opener( urllib.request.build_opener( urllib.request.ProxyHandler()) ); by = urllib.request.urlopen( 'http://packagecontrol.io/' + pf.replace(' ', '%20')).read(); dh = hashlib.sha256(by).hexdigest(); print('Error validating download (got %s instead of %s), please try manual install' % (dh, h)) if dh != h else open(os.path.join( ipp, pf), 'wb' ).write(by)

    4) Click on Enter. Wait for the installation to finish, this may take a few seconds.

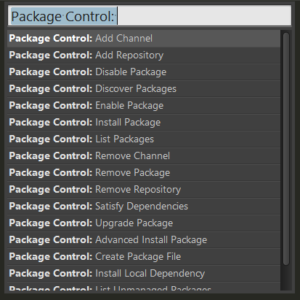
    5) Press on CTRL+Shift+p, a new select box should be open.

    6) Search for ‘Package Control :: Install Package’ then search for ‘vue-syntax-highlight’

    7) Reopen the Sublime Text 3.

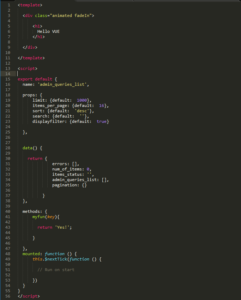
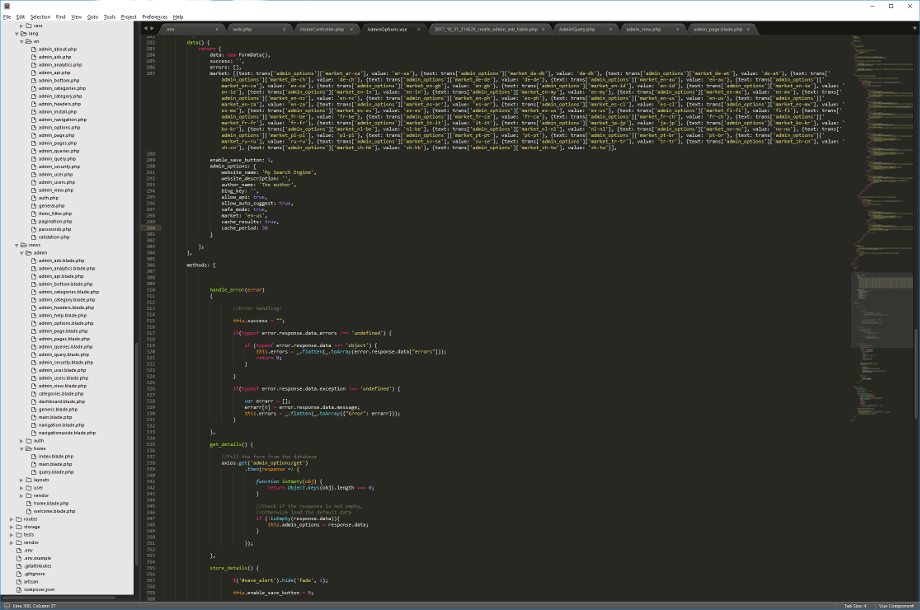
    That’s it. From now on your VUE script will be highlight in Sublime Text 3

    Install Sublime Text 3 on Ubuntu / Debian

    Sublime text is my favorite code editor. This editor can handle easily with HTML / Java Script / CSS / PHP and any other web development language.

    While installing the Sublime Text 3 on windows is easy, on linux you can install it using the above command lines:

    # Download the Sublime Text 3
    wget http://c758482.r82.cf2.rackcdn.com/sublime-text_build-3083_amd64.deb
    
    # Install it
    dpkg -i sublime-text_build-3083_amd64.deb
    

    That’s it!

    Now, in order to open the Sub Lime Text 3 run:

    subl
    

    If you want to open a specific document or file:

    subl 'the_path_to_the_file_name.php'
    

    Change Webmin Password Ubuntu / Debian

    After the installation of Webmin was finished, you may want to enter to the Webmin tool front page with the default user name (root in many cases) and your password. If you don’t know the password or Webmin not allows you to enter to your account, you can change the password with command prompt.

    This command should work on Linux Ubuntu or Linux Debian.

    # set / change the default pass of webmin using the command line.
    # change the "your_password" with your password:
    /usr/share/webmin/changepass.pl /etc/webmin root "your_password"

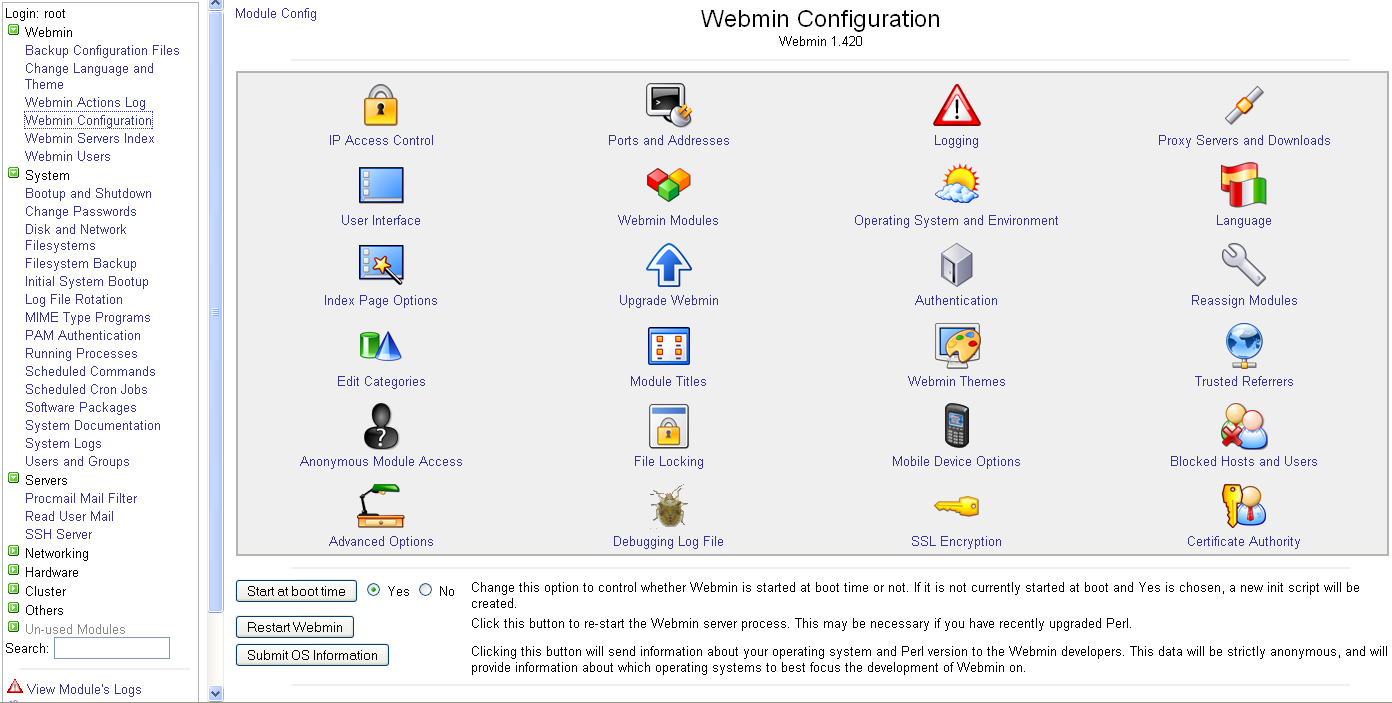
    Install Webmin – Bash Script

    What is ‘Webmin’?
    Wikipedia said that Webmin is:

    Webmin is a web-based system configuration tool for Unix-like systems, although recent versions can also be installed and run on Windows. With it, it is possible to configure operating system internals, such as users, disk quotas, services or configuration files, as well as modify and control open source apps, such as the Apache HTTP Server, PHP or MySQL.


    Install Webmin (Bash Script)
    Webmin allows you to manage your server (VPS, Amazon EC2, Google GCE, etc..) from the web browser, easily and effective.

    Here is a bash script that will install webmin under Debian 7:

    #!/bin/bash
    
    # This bash script will install webmin on Debian
    # 
    # Do not forget to make this bash script executable
    # chmod +x install-lamp.sh
    
    #!/bin/bash
    if [ "$EUID" -ne 0 ]
      then echo "Please run as root"
      exit
    fi
    
    # cd /
    
    wget http://prdownloads.sourceforge.net/webadmin/webmin_1.840_all.deb
    
    dpkg --install webmin_1.840_all.deb
    
    apt-get -f install


    After the installation, open the browser and go to your web server ip or domain using the port 10000, for instance:

    https://server_ip.com:10000 or https://server_domain.com:10000
    

    * If you cannot enter to the main page of the Webmin, make sure to open the port 10000 in your server / service.

    In most of the cases the user name is root and the password is the password of the user.

    In order to change the password from the command line, go to this post:
    https://www.wiserbit.com/bash-scripts/change-webmin-password-ubuntu-debian.html

    install LAMP+ (Nginx, PHP7, MySQL, ImageMagick, curl, zip, php-mbstring, GIT, Composer)

    What is ‘LAMP’?
    Wikipedia said that LAMP is:

    LAMP is an archetypal model of web service stacks, named as an acronym of the names of its original four open-source components: the Linux operating system, the Apache HTTP Server, the MySQL relational database management system (RDBMS), and the PHP programming language. The LAMP components are largely interchangeable and not limited to the original selection. As a solution stack, LAMP is suitable for building dynamic web sites and web applications.


    Install LAMP+ on Linux Debian
    Whether you run a VPS, dedicated server, or any cloud solution (Amazon EC2, Google GCE) on linux, you may need to install some programs in order to start developing things.

    This LAMP bash installation include some extra programs that can make life easier with Debian, and will allows you run Laravel 5.2 / 5.3 / 5.4 / 5.5 without any problem.

    #!/bin/bash
    
    # This bash script will install LAMP+ (Nginx, PHP7, MySQL, ImageMagick, curl, zip, php-mbstring, GIT, Composer) to run Laravel 5.4 on Debian
    # 
    # Do not forget to make this bash script executable
    # chmod +x install-lamp.sh
    
    #!/bin/bash
    if [ "$EUID" -ne 0 ]
      then echo "Please run as root"
      exit
    fi
    
    export DEBIAN_FRONTEND=noninteractive
    
    # Update Package List
    apt-get update
    
    # Update System Packages
    #apt-get -y upgrade
    
    # Force Locale
    echo "LC_ALL=en_US.UTF-8" >> /etc/default/locale
    locale-gen en_US.UTF-8
    
    
    echo "deb http://packages.dotdeb.org jessie all" | tee -a /etc/apt/sources.list.d/dotdeb.list
    echo "deb-src http://packages.dotdeb.org jessie all" | tee -a /etc/apt/sources.list.d/dotdeb.list
    wget -qO - http://www.dotdeb.org/dotdeb.gpg | apt-key add -
    apt-get update -y
    
    #nginx
    apt-get install nginx -y
    service nginx reload
    
    #mysql 5.7 (with json type)
    wget http://dev.mysql.com/get/mysql-apt-config_0.8.0-1_all.deb
    sudo dpkg -i mysql-apt-config_0.8.0-1_all.deb
    apt-key adv --keyserver pgp.mit.edu --recv-keys A4A9406876FCBD3C456770C88C718D3B5072E1F5
    apt-get update
    apt-get install mysql-server
    
    mysql_secure_installation
    
    cd ~
    
    #php7
    apt-get install php7.0-cli php7.0-curl php7.0-dev php7.0-fpm php7.0-gd php7.0-mysql php7.0-mcrypt php7.0-gd php7.0-intl php7.0-xsl
    
    apt-get install php-fpm php-mysql
    systemctl restart php7.0-fpm -y
    
    #nano /etc/php/7.0/fpm/php.ini
    cd ~
    
    #curl
    apt-get install curl -y
    cd ~
    
    #zip
    apt-get install zip -y
    
    # zip for PHP (use ZipArchive;)
    sudo apt-get -f install
    apt-get install php7.0-zip
    
    #then add to the end of the ini file: zip.so
    echo extension=zip.so >> /etc/php/7.0/cli/php.ini
    echo extension=zip.so >> /etc/php/7.0/fpm/php.ini
    cd ~
    
    #php-mbstring
    apt-get install php-mbstring -y
    #then add to the end of the ini file: mbstring.so
    echo extension=mbstring.so >> /etc/php/7.0/cli/php.ini
    echo extension=mbstring.so >> /etc/php/7.0/fpm/php.ini
    cd ~
    
    
    #imagemagick
    apt-get install pkg-config libmagickwand-dev -y
    cd /tmp
    wget https://pecl.php.net/get/imagick-3.4.0.tgz
    tar xvzf imagick-3.4.0.tgz
    cd imagick-3.4.0
    phpize
    ./configure
    make install
    echo extension=imagick.so >> /etc/php/7.0/cli/php.ini
    echo extension=imagick.so >> /etc/php/7.0/fpm/php.ini
    service php7.0-fpm restart
    service nginx restart
    rm -rf /tmp/imagick-3.4.0*
    
    cd ~
    
    
    #git
    apt-get install git-core -y
    cd ~
    
    curl -sS https://getcomposer.org/installer | php
    
    mv composer.phar /usr/local/bin/composer
    cd ~